> ## Documentation Index
> Fetch the complete documentation index at: https://qawolf-onboard-md.mintlify.site/llms.txt
> Use this file to discover all available pages before exploring further.
# Create flows in the IDE
> Create flow files and folders and write test code manually in the QA Wolf IDE.
If you'd prefer to have AI create and edit flows for you, see [Create flows with AI](/qawolf/Automate-flows-using-AI-2d35b2a994fb8084b524cfc9aca7c358).
## Create a folder or flow
Two entry points on the **Flows** tab create a flow in the IDE.
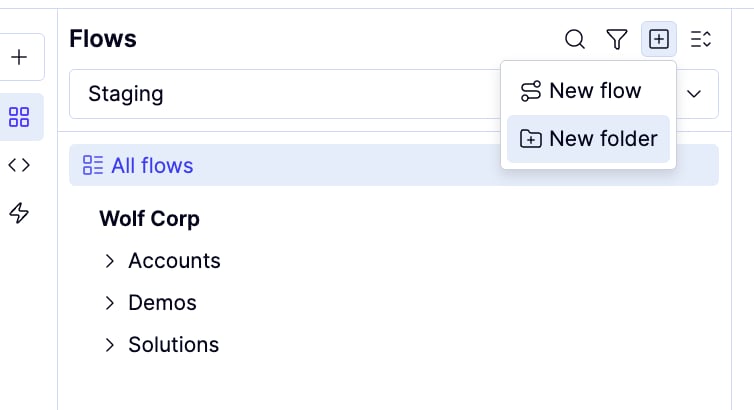
**From the flows list**
Click in the toolbar, then select **New flow** or **New folder**.
 **From the IDE**
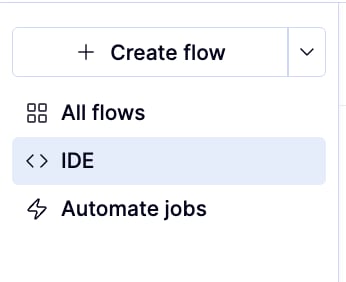
From the **Flows** tab, hover over the left sidebar to expand it, then click **IDE**.
**From the IDE**
From the **Flows** tab, hover over the left sidebar to expand it, then click **IDE**.
 Navigate to the location in the file tree where you want to create the new file or folder.
Click the icon in the toolbar.
Navigate to the location in the file tree where you want to create the new file or folder.
Click the icon in the toolbar.
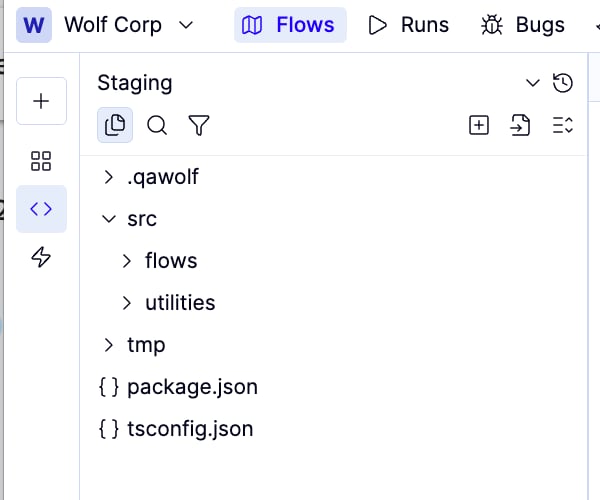 Click **New Folder** or **New Flow**.
Use clear, descriptive names that reflect your app's feature areas — this helps both you and AI keep flows organized.
## Write test code
Select a flow file from the tree to open it in the code editor. The editor prefills new flows with [AAA](https://www.qawolf.com/blog/intro-to-aaa) (Arrange-Act-Assert) comments as a starting structure.
For a full explanation of flow structure and imports, see [Anatomy of a flow](/qawolf/anatomy-of-a-qa-wolf-test-mobile-edition).
QA Wolf lints your code as you type. See [Debug tests & flows](/qawolf/Debug-tests-and-flows-2c15b2a994fb805c9e92eec7a4a3e83e) if you encounter errors.
## Publish your changes
When ready, click **Review**.
Click **New Folder** or **New Flow**.
Use clear, descriptive names that reflect your app's feature areas — this helps both you and AI keep flows organized.
## Write test code
Select a flow file from the tree to open it in the code editor. The editor prefills new flows with [AAA](https://www.qawolf.com/blog/intro-to-aaa) (Arrange-Act-Assert) comments as a starting structure.
For a full explanation of flow structure and imports, see [Anatomy of a flow](/qawolf/anatomy-of-a-qa-wolf-test-mobile-edition).
QA Wolf lints your code as you type. See [Debug tests & flows](/qawolf/Debug-tests-and-flows-2c15b2a994fb805c9e92eec7a4a3e83e) if you encounter errors.
## Publish your changes
When ready, click **Review**.
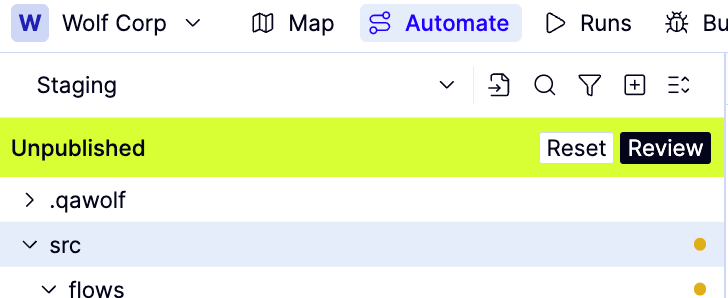 Review your changes in the side-by-side diff.
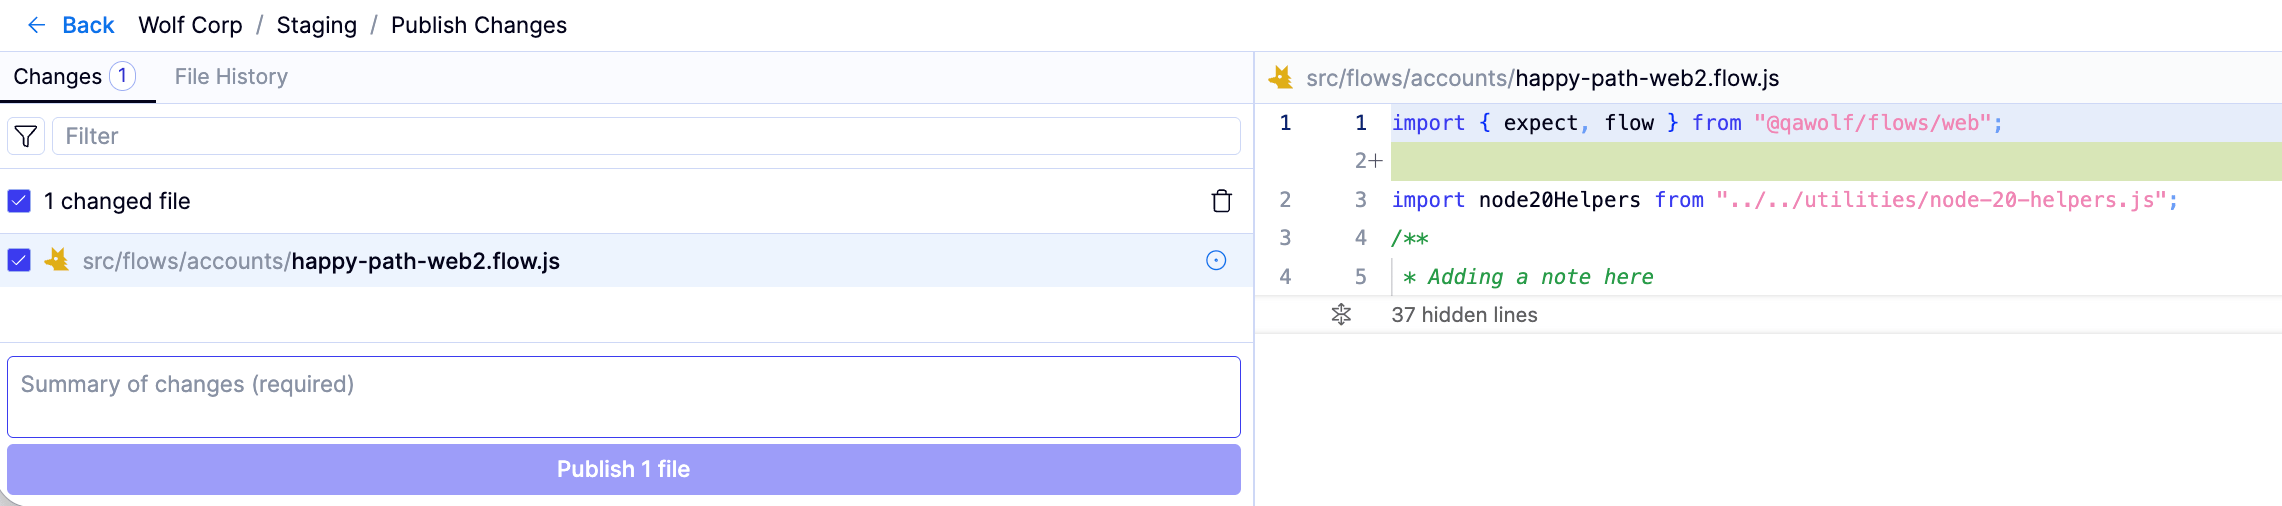 Enter a clear description of the change in the **Adding a comment** field.
Click **Publish changes** to confirm. The publish dialog will close when your changes have been saved.
Enter a clear description of the change in the **Adding a comment** field.
Click **Publish changes** to confirm. The publish dialog will close when your changes have been saved.